

Introduction
In this article, we will learn how to implement a Stripe payment gateway in a .NET Web application using C#.
Let’s begin.
Go to https://stripe.com/
Let’s begin.
Go to https://stripe.com/
Click on the START NOW button to do the registration. After successful registration, the below page appears.
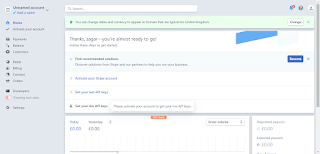
Click on Developers > API Keys, and get your Publishable key and Secret key

Now, Install “Stripe.net” SDK in your application
Go to Tools > NuGet Package Manager > Manage NuGet Packages For Solutions.
Click on Browse Tab and search for “Stripe.net”. Click on search NuGet and click to Install button.
After installation of SDK, Set Publishable key and Secret key in web.config.

C# Code Example
Open the HomeController.cs file and add the code in it.
public ActionResult Index()
{
ViewBag.StripePublishKey = ConfigurationManager.AppSettings["stripePublishableKey"];
return View();
}
[HttpPost]
public ActionResult Charge(string stripeToken, string stripeEmail)
{
Stripe.StripeConfiguration.SetApiKey("your Publishable key");
Stripe.StripeConfiguration.ApiKey = "your Secret key";
var myCharge = new Stripe.ChargeCreateOptions();
// always set these properties
myCharge.Amount = 500;
myCharge.Currency = "USD";
myCharge.ReceiptEmail = stripeEmail;
myCharge.Description = "Sample Charge";
myCharge.Source = stripeToken;
myCharge.Capture = true;
var chargeService = new Stripe.ChargeService();
Charge stripeCharge = chargeService.Create(myCharge);
return View();
}
Open the Index.cshtml file and add the code in it.
<form action="/Home/Charge" method="POST">
<article>
<label>Amount: $5.00</label>
</article>
<script src="//checkout.stripe.com/v2/checkout.js"
class="stripe-button"
data-key="@ViewBag.StripePublishKey"
data-locale="auto"
data-description="Sample Charge"
data-amount="500">
</script>
</form>
That’s it, you are ready to use the Stripe gateway.
#viastudy


.gif)
0 Comments